Hey guys! I'm back today reviewing some bits from Creative Industry. When they emailed me asking me if I'd like to review their new Garment Planner Notepad I jumped at the chance and I was even more grateful when the parcel came and they had included one of their SpoolPods too! I want to state now that even though these items were gifted to me my opinion is still completely my own and 100% honest, I would never recommend anything to anyone if I didn't believe in the product.
SpoolPod
I'm going to start with the SpoolPod because I think this little tray is amazing, so basically it's a silicone tray with 10 slots so you can store a spool of thread and matching bobbin together, we've all accidentally used a navy blue bobbin with a black spool of thread and this cool little storage solution will eliminate that error completely. Each slot in the tray measures 1.8cm x 7.7cm and it's not just compatible with Gutermann threads, you can also use it for Aurifil and Coats, and I'm pretty sure there are a few others out there that would work too because the silicone stretches a fair bit.
Current Storage
When this arrived my thoughts immediately went to my own thread stash, I currently have my bobbins and spools of thread stored separately and I'm going to be quite honest here... This system only truly worked for me for about 6 months give or take before I was really sick of it... Basically I've been getting more and more frustrated with the fact that my bobbins are unravelling and jumping out of their slots, I actually put an elastic band around the case after about 3 months because there was nothing keeping the lid closed securely, but even with the elastic band (which is wrapped around twice) keeping the lid tightly shut, if the case is shaken or knocked the bobbins still have enough room to jump out of their slots which jumbles them up and has resulted in a few really knotted and tangled messes! The spool case I own is better but it's still got the same issue when it gets knocked... If I even slightly knock it with my elbow or something when I'm sewing the lid flies off and the spools go everywhere, thankfully they don't unravel because you can secure the thread on the spools themselves. I started looking for alternatives after that 6 months but as you can imagine it's one of those things where unless you are actively having the problem you kind of forget about it, I would only really look when I was sewing something or when I'd been tidying up my craft room so it kept being put on the back burner.
Spool and Bobbin
Bobbin Stack
When I did my review of the PatternTrace Swedish tracing paper, which is also sold by Creative Industry, I had a LONG browse of their website and saw the SpoolPods and immediately thought it was a front runner for replacing my current storage! I had the idea that even if I didn't want to solely store spools and bobbins together that I could maybe stack a few bobbins in each slot, so when I was testing them out I decided to try out my theory and I was pleased to find that I could stack 6 Janome bobbins in each slot meaning I could store an epic 60 bobbins per tray!!
As one of my biggest annoyances with my current storage is that the bobbins and spools fly out and get tangled I decided to put it through it's paces during my video review (which you can find below), basically I put 6 bobbins stacked in one end and a spool and matching bobbin in the other and shook it hard! Nothing flew out or even moved, so I then took the spool out and shook again to see if a bobbin would move if it was on it's own, it did move slightly but only in the slot it didn't come out and the thread was still securely wrapped around the bobbin. I love that you can stack these too, I had a light bulb moment thinking you could store them stacked in a pretty photo box and then you can keep different thread types and brands separate which is great because I currently have 2 bobbin cases, 1 for Gutermann and 1 for Aurifil.
I will definitely be getting more of these in the future, I really do love it! If you want to purchase one you have the option to purchase a single SpoolPod or in a pack of 5 which is perfect if your thread stash needs taming ;) you can use the code lilbitcrafty for 10% off any order on Patterntrace!
Garment Planner Notepad
Now onto the Garment Planner Notepad, if like me you often find yourself wandering into a fabric shop thinking "Now what size buttons did I need for that top again?" then this notepad is for you! There are 50 pages which basically means enough for 50 projects and as you can see there are various sections to each page and some blank ones too so you can add your own for those more obscure and unusual bits of haberdashery. The paper is a really nice quality and it even has a slight background print, it looks kind of blueish grey with these cream squares connected by lines which is very pleasing to the eyes, I wanted to test a variety of pens to see if there was any real problems like the page ripping or ink bleeding etc.
Pens
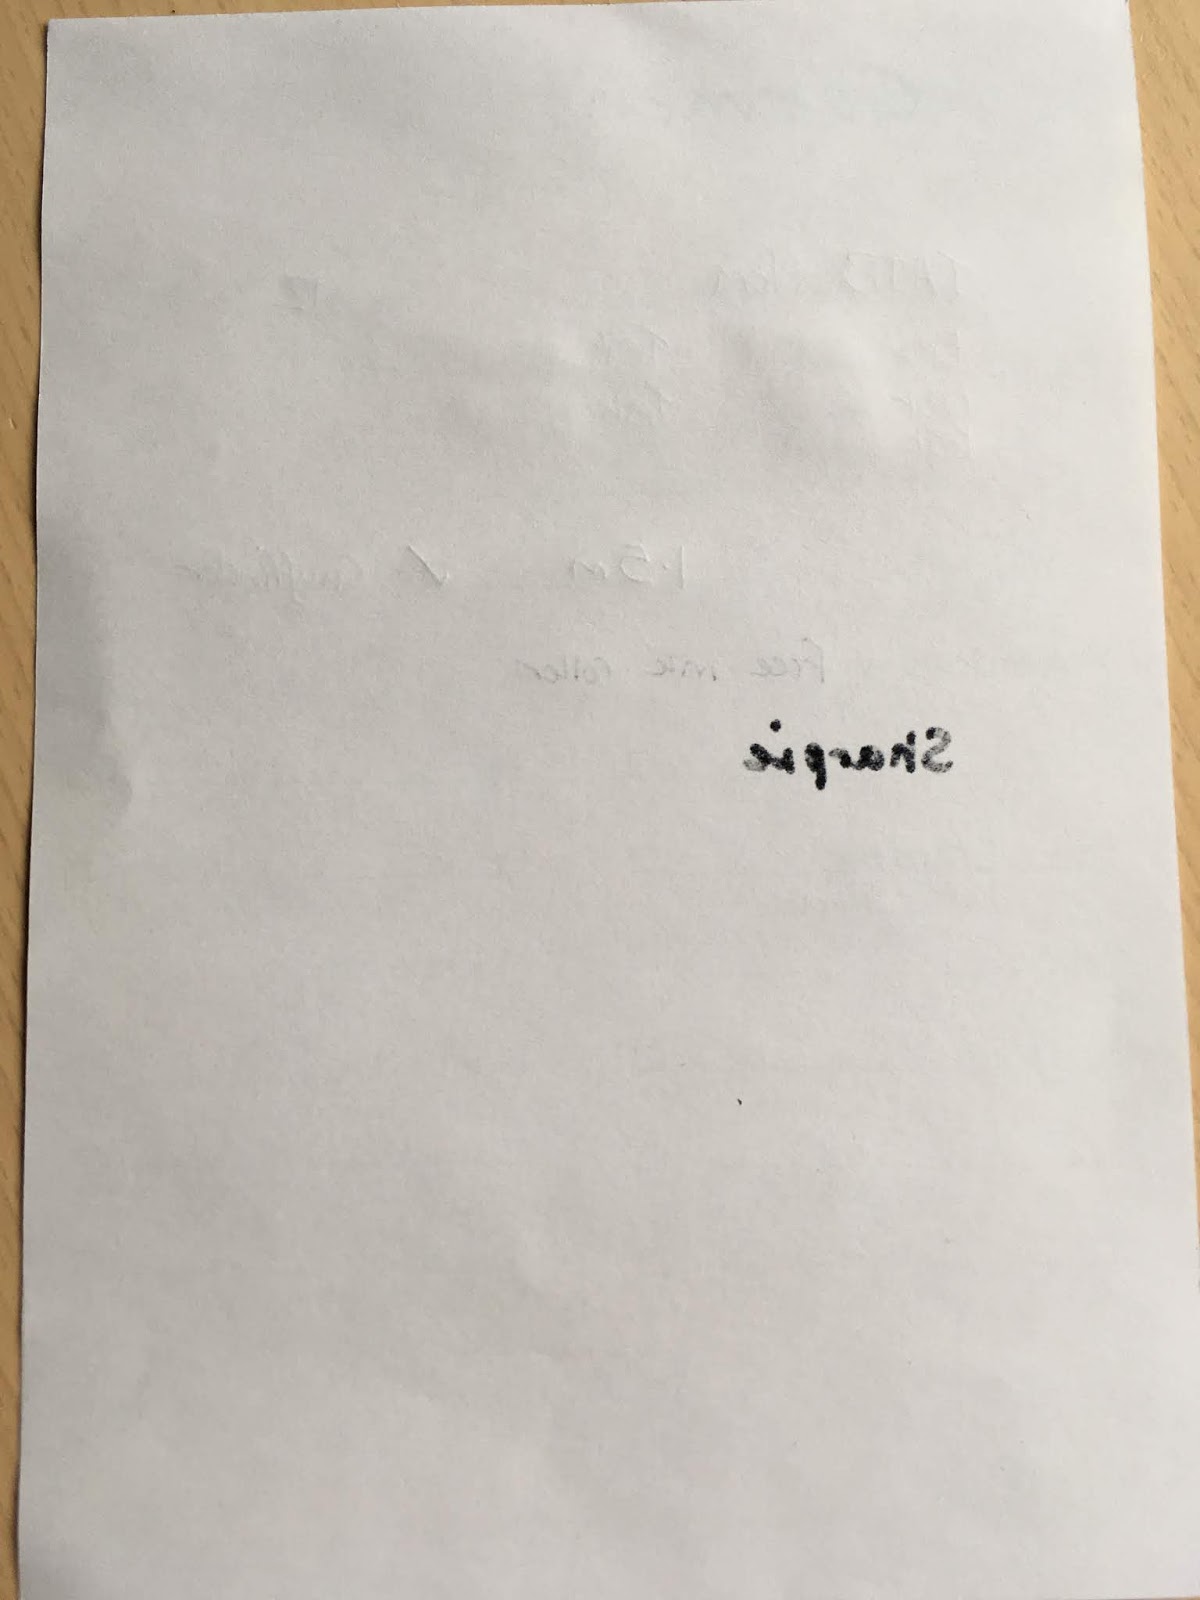
The pens I used were Pilot Frixion erasable pens, my Gryffindor ballpoint pen, a free ink roller pen, a Sharpie and a Staedtler Fine Liner, there weren't any issues with any of the pens really, the Sharpie bled through the page but the ink didn't go through onto the next page so it would work in a pinch if you had no other pens available, to see the pen test in more detail you can watch my YouTube video which is above.
Back of Page
I really do love this notepad, the fact that I can just write down everything I need and pop it in my bag really does appeal to me, I hate coming across an amazing little shop and not knowing what I need for my project it really frustrates me because then I usually end up having to find it online etc and I love shopping small/local and that just isn't always an option when shopping online. If like me you're constantly forgetting what haberdashery you need and what sizes then this notepad is perfect for you, I'm not going to lie... I have actually been in a shop before hopelessly searching the Internet to find out what I need so I know this will get lots of use! If you want this notepad, or anything else from Patterntrace, then you can get 10% if you use the code lilbitcrafty (this is not a referral code or an affiliate program, it's literally just a discount code for my followers).
Close Up of Erased Frixion Pens
So yeah, all in all both products are fantastic and definitely fit for purpose, I can't find fault with either of them. I want to thank the lovely people from Creative Industry for giving me the opportunity to review these items, and I hope that anyone reading this or watching my video has found it helpful. Thanks for sticking with me this long, if you have any questions at all then leave me a comment below and I'll get back to you ASAP, I will be back really soon with some cool Cricut projects!
Hi guys!! It's been a while since I posted and that's purely because I've been struggling to get what I want to say written in words, I've just found it so much easier to do vlogs rather than blogs, however doing some guest blogging for Minerva Crafts has got me back on track!
So today I'm going to be talking about something that means the WORLD to me... Harry Potter... When I saw the official pattern from Simplicity a few months ago I freaked out... Like squealing kind of freaking out, which is pretty rare for me... ANYWAY long story short my friend got it for me for Christmas and as I was looking through the pattern instructions I was feeling a little bit deflated, the pattern is fantastic and I'm not knocking it in any way I just wanted my robes to be more movie quality than fancy dress so I sat and worked out all the alterations I'd have to make to the pattern to make this a reality and now I'm sharing it with you so you can do it too.
Wand Pocket
I'm going to start by talking about the tracing paper I used to trace the pattern off, I wanted to keep the master pattern in mint condition so I used Patterntrace swedish tracing paper from Creative Industry, it's 1m wide and you can get a 10m roll! It's brilliant stuff and has quickly become a crucial part of my sewing tool kit, it's thin but resilient (if you watch my video you'll see that I am really trying to pull the scrap of tracing paper apart and it didn't tear!). I love that it's extra wide because it really helped with these pattern pieces, they get really wide at the bottom of the body panels and obviously they're long pieces because they're full length. You can stick pieces together to make it longer/wider and making adjustments straight on the paper is super easy too because pencil lines rub out easily without damaging the tracing paper in any way. It's made from eco-friendly abaca fibres which means it's compostable, which is crucial because as we know some pattern pieces are odd shapes meaning there will always be a bit of wastage. It kind of feels like a lightweight interfacing and I've been informed by the company that you can actually sew the paper together meaning you can make toiles with it to check fit, I will definitely be using it for all future projects, I genuinely don't know how I managed without it! The lovely people over at Patterntrace have given me a discount code for you guys, if you type lilbitcrafty in at the checkout you'll get 10% off, this code works on EVERYTHING in their shop not just the tracing paper and you get free UK delivery! I won this roll of Patterntrace Swedish Tracing Paper in a giveaway from someone on Instagram and decided to review it as I love it so much, these opinions are completely my own and I'm not lying when I say I have used this for many projects already and haven't found a fault with it yet!
Now onto the robes themselves, so I wanted fully lined robes, I was not happy with the idea that the robes would only have the contrast colour (House colour) in the hood and in some facings down the front sides and across the neck, I've been to the Harry Potter Studios and the ones they give you to wear for the green screen experiences are fully lined and I also found a photo of Hermione when I was doing my research where you can clearly see the Gryffindor red in the sleeves. Before you can even start you need to work out fabric amounts so to do this you need to look at the back of the pattern envelope, if you are new to using mass produced patterns then this might freak you out a little bit, have no fear I am here to simplify this a tad, on the left you'll notice you have the body measurements in inches and the fabric quantities in yards, now that's fine if you're from America but here in the UK we buy our fabric in metres, in the right hand column the fabric amounts are shown in metres but that whole half is in French and there are so many sizes that it just started to all blend together, to combat this I used highlighters to highlight the sizes and fabric quantities in both the left and the right columns, as you can see each size has a different colour so it is quick and easy to cross reference between the sizes, it has made it so much easier to read the pattern because there are so many sizes it can start to look like gibberish!
Back of Pattern Envelope
So here are the changes I made to get the robes the way I wanted them!
So to do the fully lined robes you'll need to look at the back of the pattern envelope, go down to where it says "B Robe" and find your size to see the correct amount needed for the black outer fabric, when you're looking for the amount of fabric needed for the lining you just need to look at that same bit again, completely ignore the bit that says "Contrast Hood and Facings", you will need to double check the fabric widths because the black fabric I used was gabardine and was 60" wide but the lining fabric I used was a polycotton and was only 45" wide, which meant I needed more of the lining than the outer fabric because it's not as wide. When it came to sewing them I just basically sewed the outer fabric pieces all together following the pattern instructions, then I sewed all the lining pieces together following the instructions but I skipped the side seam pockets because you don't need them in the lining, then I put them right sides together matching up the crucial seams (the top of the hood, the neck/hood seam and then the bottom hem) and stitched from the top of the hood all the way down the front on one side then repeated it again on the other side (I did it this way because I didn't want to risk the fabric shifting too much!), then I stitched the bottom hems together leaving a gap of around 9" to turn it through (when you topstitch the hem you'll stitch this gap closed). When you turn it through you need to make sure the points in the hood are turned out fully and any corners like the bits at the bottom hem on the front, use a blunt object to do this like an old knitting needle. To sew the sleeves together you need to press the seam allowance (5/8") to the wrong side on both the lining and the outer fabric then put them wrong sides together, lining up the underarm seam and pinning the two bits together all the way around (repeat for other sleeve) and topstitch them together close to the edge, I used my blind hem foot to do all the top stitching because lining up the edge of the fabric with the little guide on the foot meant the top stitching would be perfectly uniform all the way around, I made sure the black fabric was on the top because I find when sewing the top thread is usually slightly neater than the bobbin thread and given it's the outside I didn't want to risk it being even slightly messy, I also used different coloured thread in the top and the bobbin, I had black in the top and burgundy in the bobbin thread so that the thread matched the fabric. Now this next part can take a lot of time... This is crucial because you need to make sure all the seams are pushed out and pressed flat because you're going to topstitch all the way around the front and the bottom hem to stop the robes from looking puffy and to keep the lining from rolling outward or vice versa.
The pattern says to interface the facings so I used Vilene Standard Iron-On Medium Interfacing (F220) in white, I didn't do the facings but I used the pattern pieces for the facings for the interfacing instead. I basically decided that the interfacing was there for a reason and so I'd better find a way to use it, I just used the interfacing on the front facing pieces and the back facing (I added a 5/8" seam allowance to the edge that would be on the centre back seam) these pieces needed reinforcement because the hood is heavy and the front has the closure on it which pulls at the fabric.
I also didn't like the way the pattern says to close the robes... Instead of using plain black buttons I wanted the buttons to match the robes fabric perfectly so I used Milward 22mm Steel Cover Buttons because it allowed me to use scraps from the robes cuttings to cover the buttons. The pattern calls for a piece of elastic cord to be sewn together into a loop and then wrapped around the buttons... I hated the thought of this... So I wracked my brain for a solution and came up with the idea that I could take a 1" wide strip of the fabric fold it in half width wise wrong sides together, then fold the raw edges into the middle and fold it in half again, then I used my Clover Wonder Clips along the edge then I used a ladder stitch to sew the two folded edges together to create a tube of fabric that I could thread some cord through, I did try sewing this on my machine but no matter how close to the edge I stitched it was always too flat for my liking. Below you'll see a photo of the tube I made... I used a couple of lengths of 2mm satin rattail cord and basically threaded it through until I thought the tube was padded but pliable enough to bend into a nice curve to go around the button. I sewed it into the seam allowance when I was going around the fronts of the robes, I stitched it into front edge on the left hand side facing (opposite of the patch), I basted it just inside the seam allowance to keep it in place, there is no real measurement for this piece it's more personal preference, it just has to be long enough to go around the button on the opposite front piece.
Closure Tube
If you want to add a wand pocket then you'll need to cut two pieces of fabric that are 3 1/4" wide and 12" long then sew them right sides together around the two longer sides and one of the shorter sides using a 1/4" seam allowance, turn it right side out and press flat, I put a piece of cardboard roughly the size of the finished pocket inside to make sure all the seams were pushed out while pressing, then I tucked the seam allowance of the unstitched short side inside and pressed. When I stitched it into the lining I put the open edge at the bottom so it would be stitched closed when I stitched the pocket to the lining, I also took into account the fact that wands are 3D so I sewed it flat at the bottom then I brought the top edges inward slightly so that there was enough give in the pocket for the wand because if I had sewn it on flat I would have risked the wand pulling the lining a weird way and making the robes look slightly off... This was sewn on before the lining and outer were sewn together.
I got my patch from Platform 9 3/4 shop and although it's and iron on patch I did some hand sewing around the edges to keep it in place and to prevent it from lifting or moving later on down the road.
That's all the changes I made, it's honestly a great pattern and I love that you get the jumper, tie and robes all in one and that the sizes cover most of the family too. One tip that I did pick up (not sure if it was in the pattern) I sewed a line of gathering stitches 4/8" in from the edge on the sleeve heads (once the underarm seam had been sewn), this made it easier to ease the fabric in between the notches and seams on the sleeves and the armhole and I found it made for much more successful sleeve insertion.
So there you have it! Hopefully after reading this you'll be inspired to make your own Hogwarts robes! I am so beyond proud of mine, they are my most favourite make to date!
Thanks for reading and sticking with me this long guys, I'll be back real soon! Lily