Hi everyone, once again there has been a big gap between posts :( unfortunately life and illness got in the way BUT I am aiming to carve out time each week to dedicate it to writing and scheduling posts :D Anyway this post is titled Christmas Crocheting because this year I decided to make more presents, I ended up making 8 things in total and rather than write a post for each item I thought I'd round 7 of them in one neat tidy post, the 8th hasn't been given to the recipient yet so that post will come later, so here goes...
Stormy Seas Blanket
 |
| The colours for this blanket were partly inspired by this piece of art |
I wanted to make my sister something special this year as she was pregnant and due in December, I thought that a blanket would be perfect so I started searching for a pattern but after an hour of looking I wasn't having much luck, the problem with that became apparent pretty quickly when I thought about it... I hadn't decided what type of blanket I wanted to make! At the time I was watching some podcasts on YouTube and one of the podcasts/vlogs that I love watching is the one by Lindsey from Lottie and Albert, I think she has a great energy and she always has an interesting range of projects on the go too, as well as designs, and it was one of her designs that really caught my eye, the Lottie and Albert Rainbow Blanket, the idea of using six strands of DK and a 20mm hook was intriguing to me so I started looking into it.
My sister isn't really into rainbows but she loves blues, turquoises and teals so I had a look at my Stylecraft Special DK Shade Card, I wanted something that was machine washable and dryable and I love working with Stylecraft so it was a no brainer. It wasn't hard to pick out six colours that she'd love that go well together in fact it was hard to only choose six, the colours I used were Graphite (1063), Grey (1099), Atlantis (1202), Waterfall (1125), Turquoise (1068) and Empire (1829), I used two balls of each colour because I wanted it to be big enough for her to wrap up in it, so in the end the blanket ended up being roughly twelve balls which is 1.2kg of yarn!
When it came to getting a hook big enough the choices are a lot more limited... I had two options, I could get a plastic one from Pony or a wooden one from KnitPro, after holding the plastic one at my local yarn store I came home and thought long and hard about it and in the end decided that I wanted the wooden one, I have absolutely nothing against Pony or plastic hooks in general I just didn't like the way this particular one felt in my hand, it just didn't feel right holding something that size and it having no weight behind it, so I ordered the 20mm Jumbo Birch hook from KnitPro and when it arrived it felt so much better in my hands more natural and a lot less awkward!
 |
| Winding the yarn |
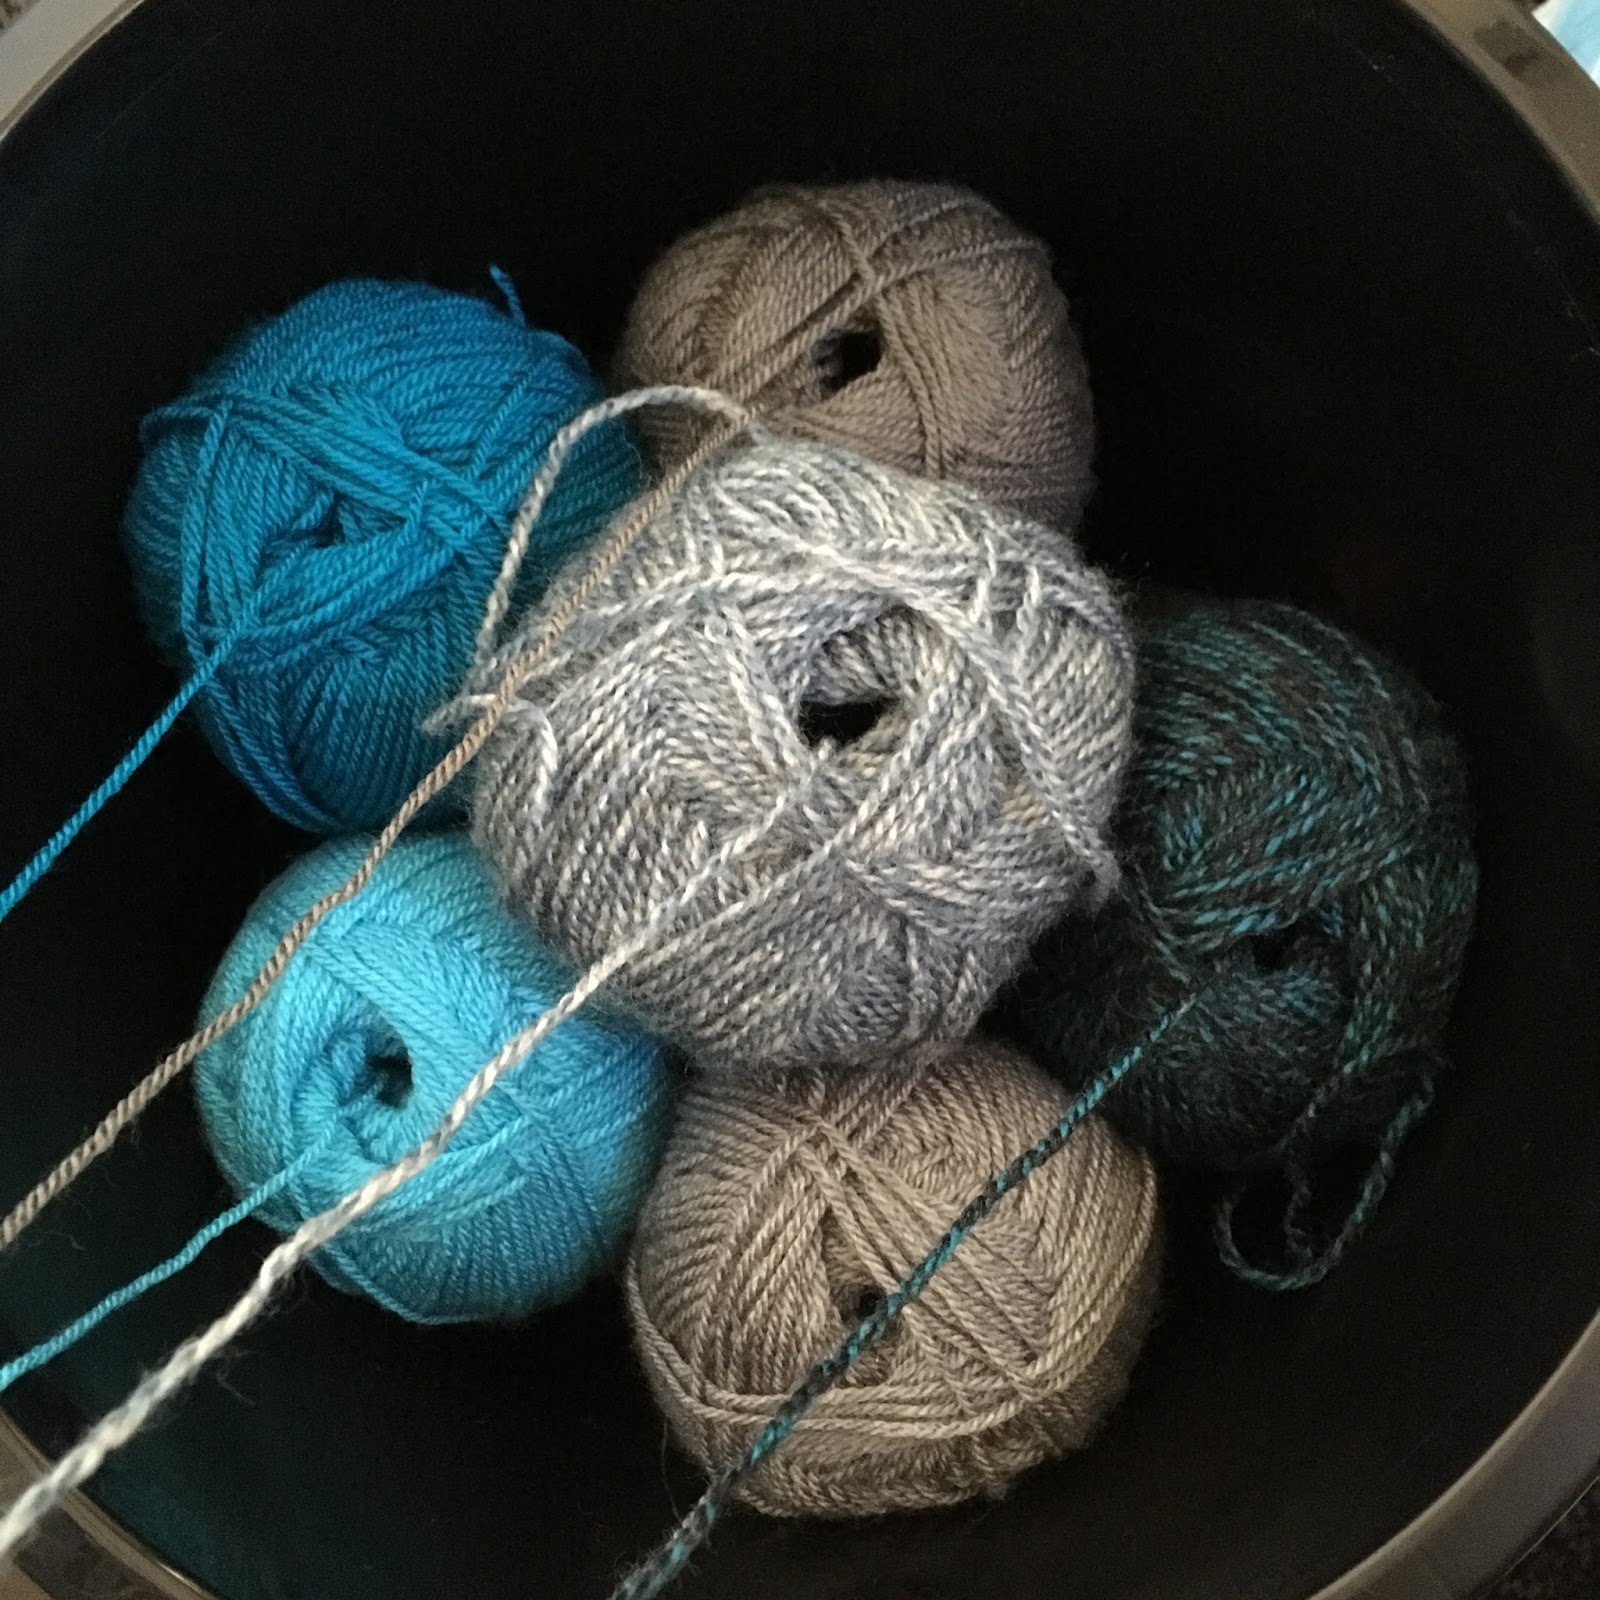
I rolled the yarn into one big ball by using a bucket, basically I wedged them all inside and pulled the yarn from the inside, there were some yarn barf moments but on the whole it was pretty easy to do I just took my time because I was in no rush. The wound ball just showed off how brilliant the colours looked together and I was so excited to see how the blanket turned out, I used the free basic tutorial that is on the Lottie and Albert blog -
HERE but Lindsey has got a paid pattern in her Etsy store -
HERE that goes into more detail, it has 5 different blanket sizes, a pillow to match and all the yarn requirements plus advice for rolling the giant yarn ball and a full photo tutorial too!
I made a bigger blanket than the tutorial because I wanted my sister to be able to wrap herself up in it so I did a longer chain at the beginning, I can't quite remember how many I did in the end because I experimented with a few different sizes before deciding. Because you use a 20mm hook it grows really fast, the best part is the hook actually does most of the work if you let it, I quickly got into a rhythm once I found a comfortable way to hold the yarn and tension wasn't an issue.
 |
| The 1.2kg Monster Ball and the 20mm Hook |
I'm not quite sure what the exact size of the finished blanket was but I know it was roughly the size of a UK double bed which was the perfect size for her to cuddle up in.
The blanket is so soft and squishy and although it will keep her warm the stitches are also open enough to allow some air flow so she won't get too hot. I really loved making this blanket, it was fun and easy to make and looks really striking with the way the colours all swirl together. My sister absolutely loved it, she has used it every day since she opened it!
Sherbet Rainbow Blanket
 |
| Love how bright these colours are! |
A few months ago I crocheted a Attic24 Neat Ripples blanket ready for the arrival of my sister's baby, at the time I decided that I was going to make his brother, my eldest nephew, a blanket as well and that's who this blanket is for. My nephew is 4 and he LOVES bright colours so this neon colour palette was perfect for him, it kind of reminds me of Wonka's Rainbow Nerds, which coincidentally we both love! I used Stylecraft Special DK again this time in the colours Lipstick (1246), Jaffa (1256), Fiesta (1257), Bright Green (1259), Citron (1263) and Sherbert (1034). This time I only used six balls as he doesn't need it as big and I did the same amount of stitches as stated in the free basic tutorial. I really cannot fault this pattern I've made two now and I would happily make another because they're quick and easy to make and they look and feel fantastic when they're finished so they make the perfect presents!

 |
| 600g Mini Monster Ball ;) |
Simply Crochet Pick 'n Mix CAL
 |
| The Finished Blanket |
Yeah I made three blankets for gifts... This one was for my aunt she's a huge supporter of everything I make so when I saw this is Simply Crochet I knew I wanted to make it for her! It was a subscriber only pattern initially but you can now get it on Ravelry
HERE. There are 12 different squares done in 2 different colour combinations which gives you a total of 24 squares, the squares are awesome, they vary in difficulty, some are lacy, some are more solid and there are even a few 3D ones which I really enjoyed crocheting.

I used Sirdar Super Soft yarn as a substitute because again I wanted it to be machine washable and dryable, the colours I used are 927 Trunkie, 893 Grassy (discontinued), 910 Peacock, 917 Sugarsnap, 824 Red Poppy, 922 Bobby, 918 Peanut, 820 Sugar Plum, 902 Fab Fuchsia. I was so behind the CAL that I didn't really join in just collected the patterns then made one big job lot of squares, I was really impressed by the way they are joined, it's so simple yet so effective and the latice effect really goes perfectly with all the different squares which given how different they all are is no easy feat. I think if I had to choose one then the spiral square would have to be my favourite, it looks really complicated but I actually found it realy easy!
Mermaid Scales Shawl
This shawl was for my Nan, she had seen my
Lost In Time shawl and really liked the gradient yarn so I thought I'd make her something similar for Christmas. I used Rico Cotton Dégradé in the Teal colour way and a free pattern from Katia which can be found
HERE, I made a slight change to the pattern by skipping the dc (UK terms) in between the fans, it was a subconscious decision I made after a handful of repeats so I'm not really sure why I did it but I definitely prefer the look of it, the pattern is written for the Katia Spring Rainbow yarn cake and the Rico one I used is about 200m more so I just carried on as far as I could which resulted in a pretty large shawl, the only picture I managed to take with it all in was the one below when it was blocking (there was about 8 foam mats across the top).
 |
| While I was blocking the shawl |
The yarn was good to work with, I didn't find it snagging or splitting too much, it did occassionally because there is no twist which I found quite intriguing, I would definitely use this yarn again and the shawl was an absolute hit with my Nan.
Messy Bun Beanies
 |
| Blue |
I wasn't crocheting when the Messy Bun beanie craze hit so these are the first two I've made. The blue one was for my cousin, she was asking me what I was planning on making next and the minute I showed her the pattern she gave me the gigantic puppy dog eyes and asked me to make her one... She's also my goddaughter so really how could I refuse?!? I can't remember the stitch or row count because I really was just making it to size I got the pattern from the Crochet M@ssy Buns & Beanies Facebook page, there is also a video tutorial on YouTube
HERE. I made this hat using the Womens Institute Premium Acrylic yarn in Light Blue, this yarn is exclusive to Hobbycraft in the UK it's a DK weight yarn and it's so unbelievably soft, I love working with this yarn! This was my first attempt at crocheted cables and I really enjoyed them, I love the way they look and I think they are pretty fun to do as well!
When my sister saw a picture of my cousins hat I got a two word text back..... GREY PLEASE!!! So I had a look through my yarn and found that I had another ball of the WI yarn in Grey and as it was a quick make I thought 'Why not' this one is a bit bigger than the blue one because my sister has a bigger head LOL I did more rows for the ribbed section then I think I done another whole cable repeat extra... Same pattern as before just bigger.

Tulip Mittens

When I saw these on Ravelry I instantly fell in love with them and knew my friend would love them too... I was instantly drawn to the way the tulips go around the wrist and how it all matches, you can get the pattern for free
HERE. For these I used Scheepjes Stone Washed in 805 Blue Apatite for the main colour and Scheepjes Catona in 241 Parrot Green and 130 Old Lace for the contrast colours. I can't praise Scheepjes yarns enough, I have used a few of their yarns now and I honest just love them all, they are a true joy to work with! The Stone Washed yarn is a Sport weight, 78% Cotton and 22% Acrylic and it is so soft, it has a woolly feel and a slight halo which just makes it look and feel so luxurious. The Catona is a 4ply 100% Mercerized Cotton and comes in a whopping 109 colours in 10g, 25g, and 50g balls, it's a pretty versatile yarn, you can pretty much use it for anything including amigurumi. There isn't really much to say about the pattern, it's well written and easy to follow, and I'm pretty sure you can change the size fairly easily aswell.
So all in all I had a fairly crafty Christmas, I found that people actually seemed to appreciate these gifts more than they did the shop bought presents from previous years which was a pretty awesome feeling! :) I'll HOPEFULLY have a post up about the final Christmas gift soon but if you want to see it now you can head on over to my Ravelry page and check out my projects page, it's the Hufflepuff Cowl (my friend picked the pattern and yarn she just hasn't seen the finished cowl). I know this was a super long post and if you're still reading I really appreciate you sticking it out! :D I'll be back again with more crafty goodness SOON!!!!
-Lily